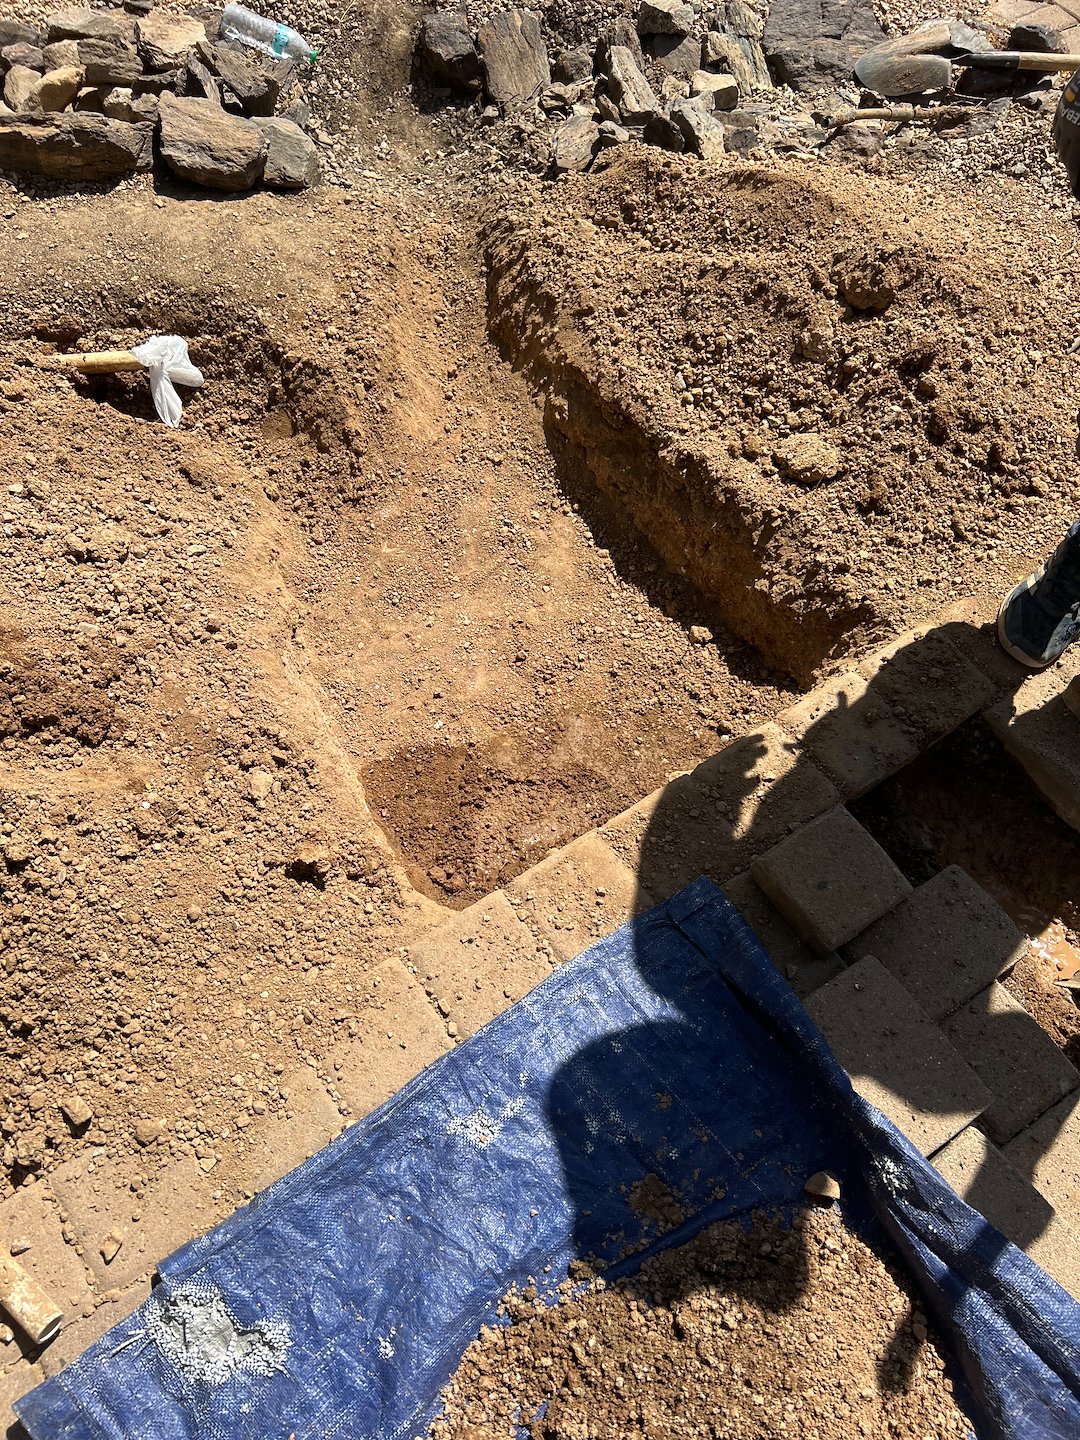
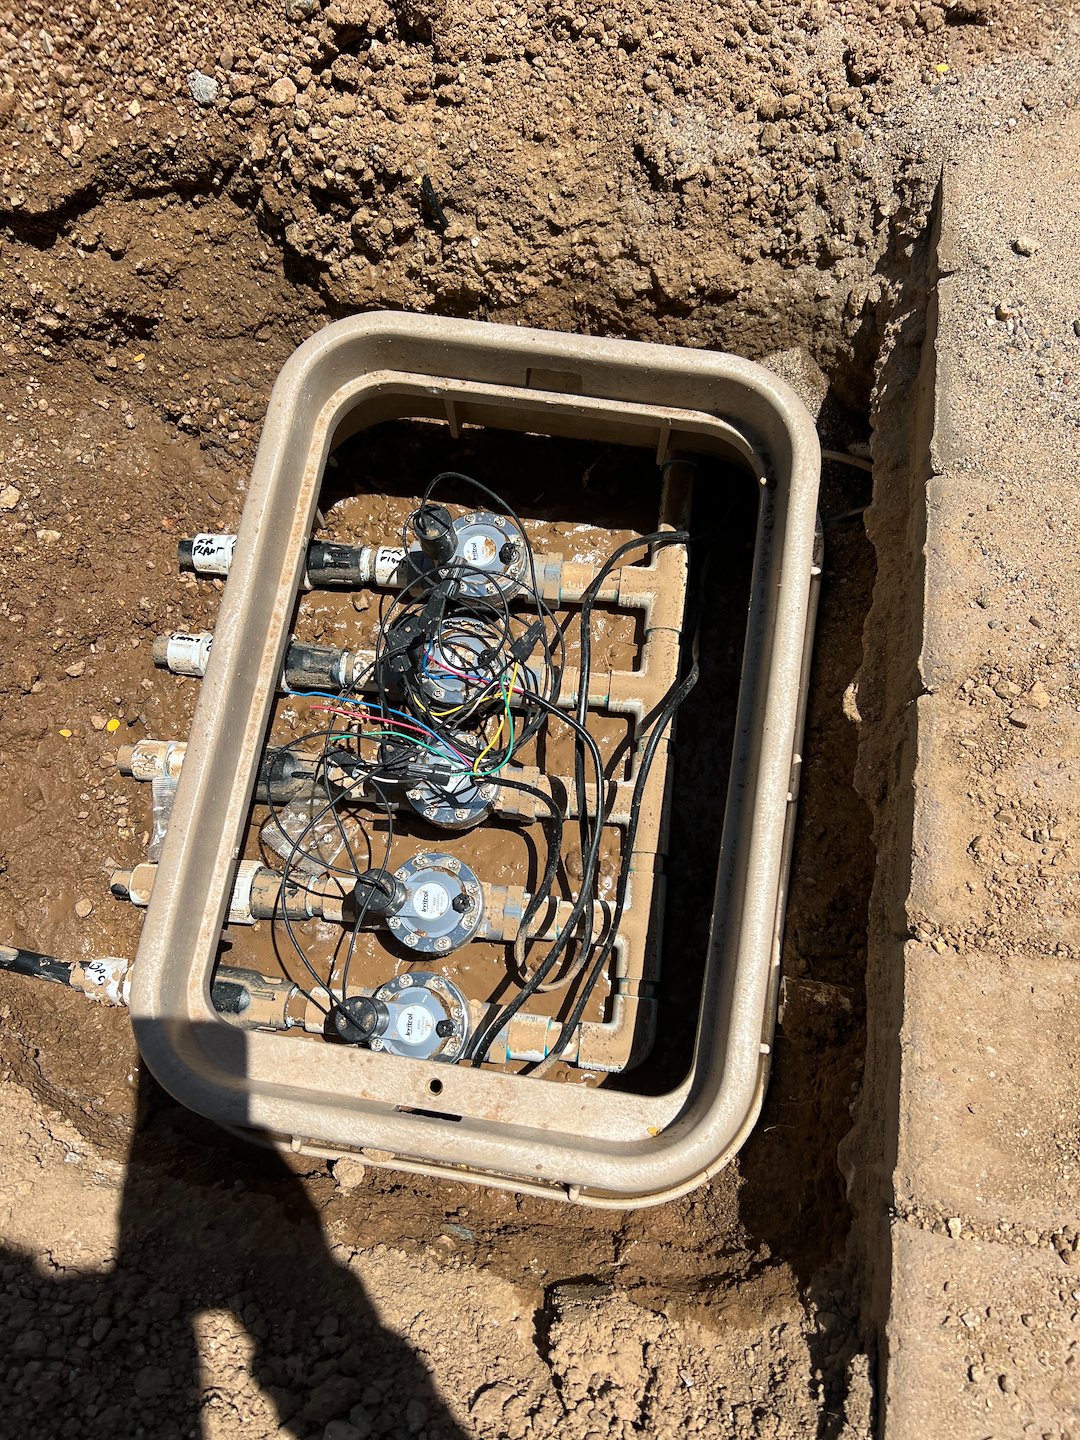
Professional valve manifold irrigation installation in Care Free
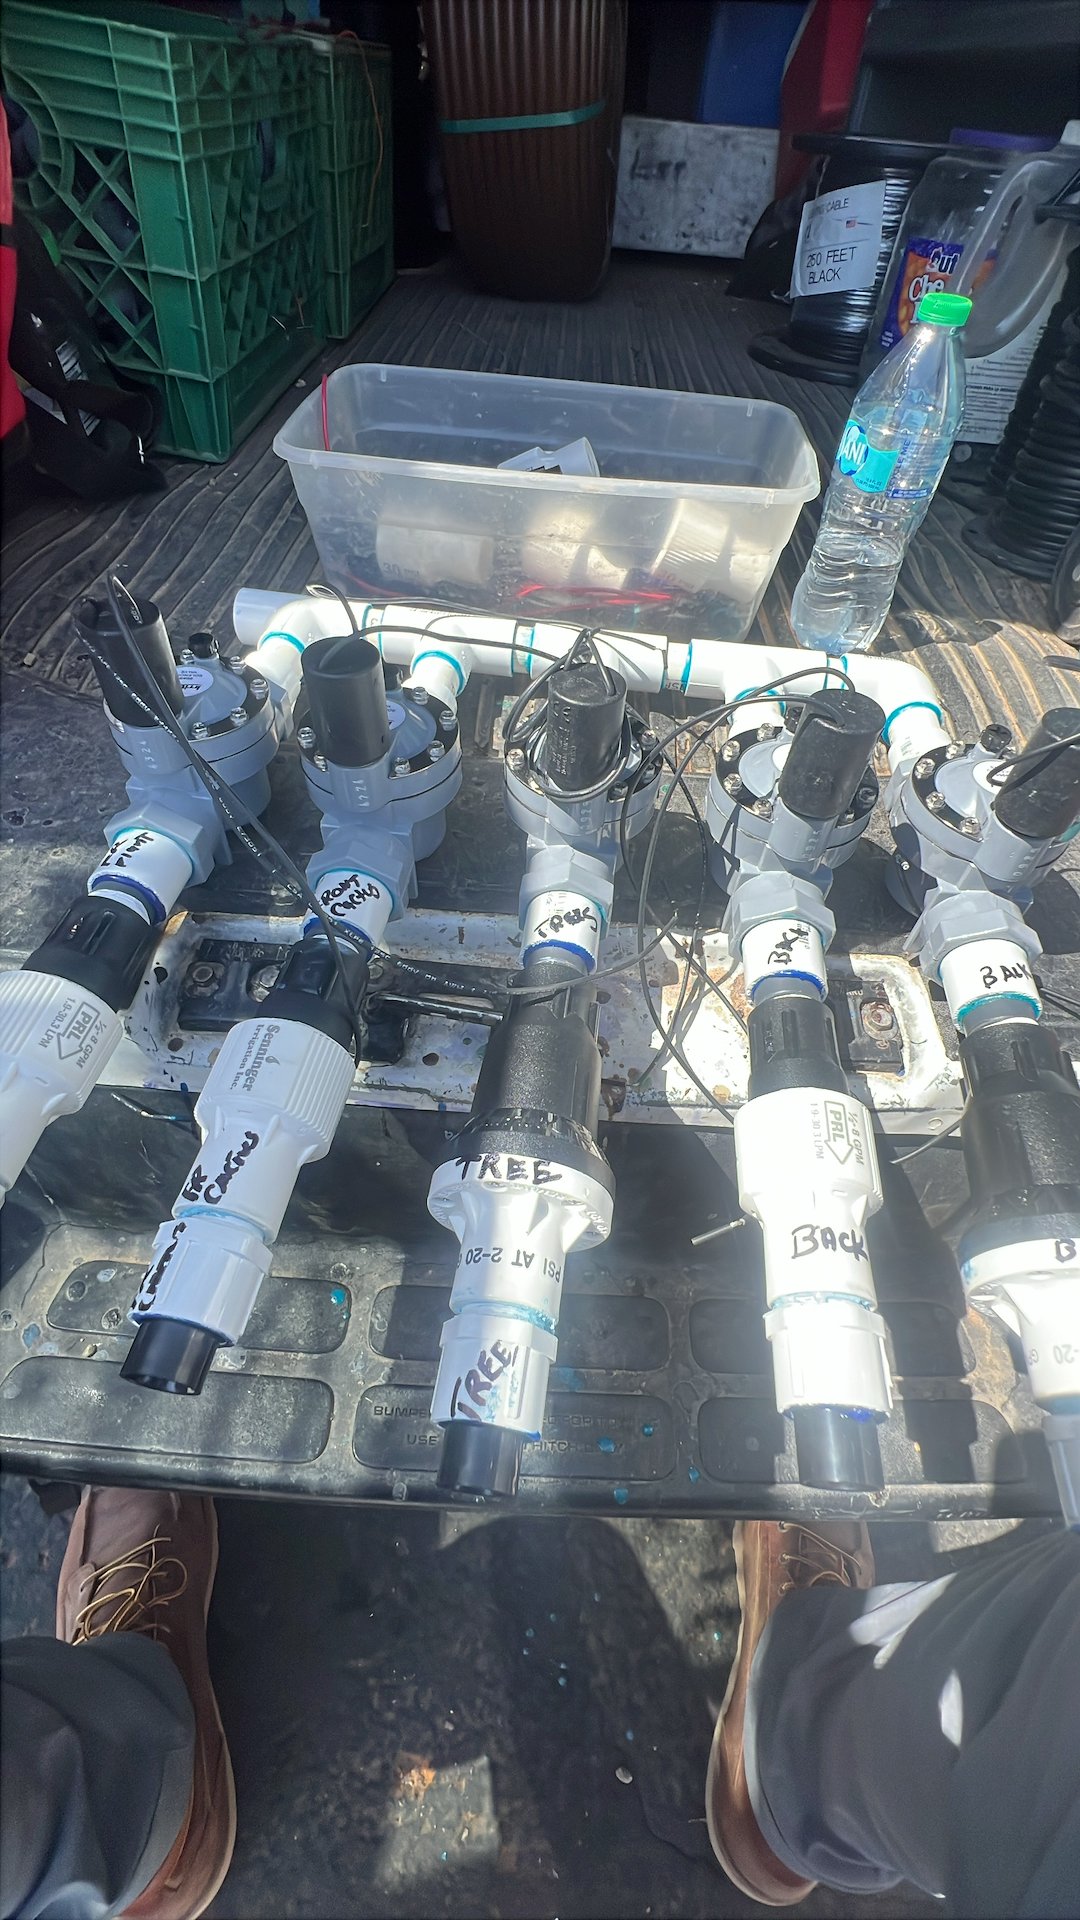
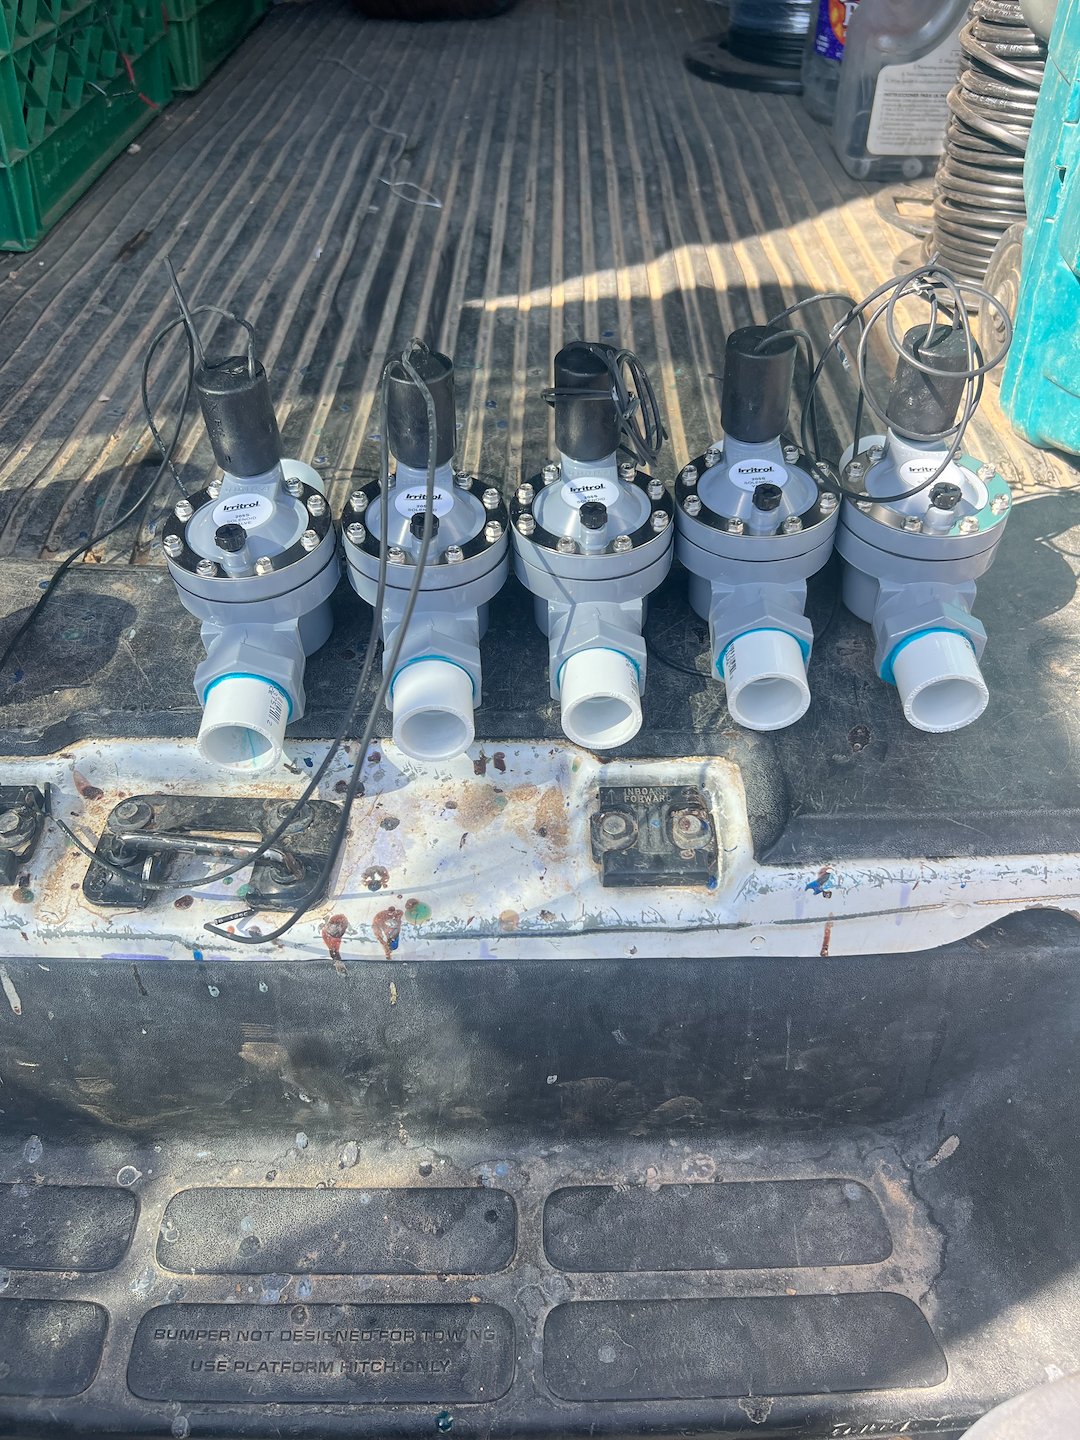
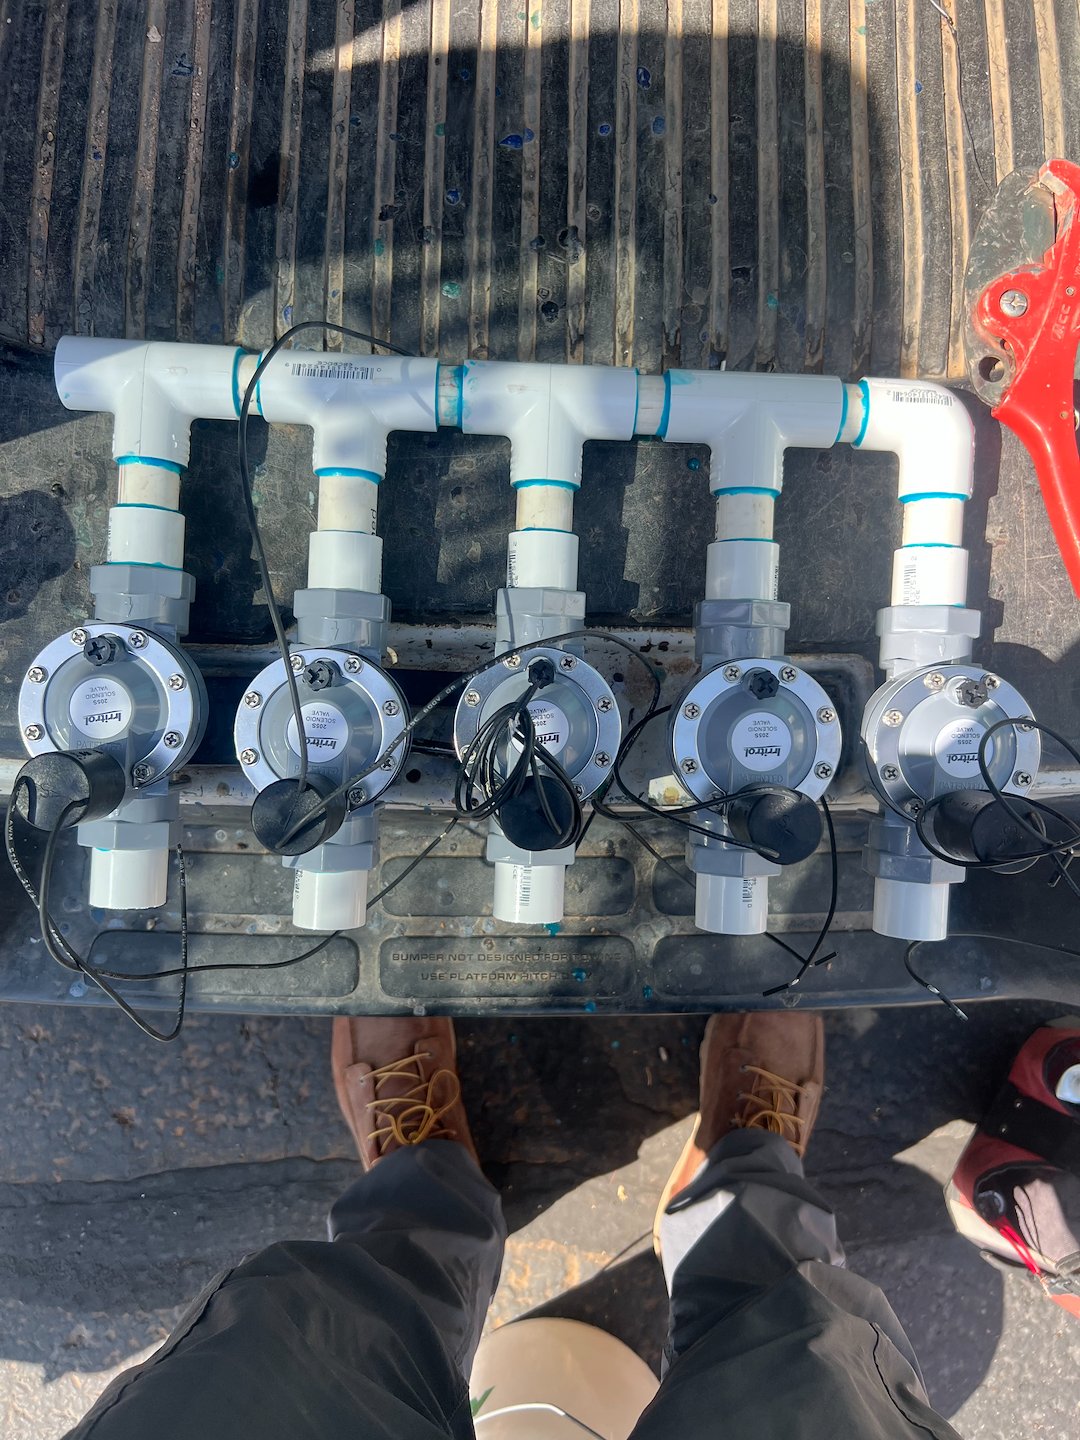
Assembling a 5 Valve Landscape Outdoor Drip Irrigation Manifold with Slip Valves as the main component of your irrigation installation.
Step-by-Step Guide to Efficient Outdoor Watering
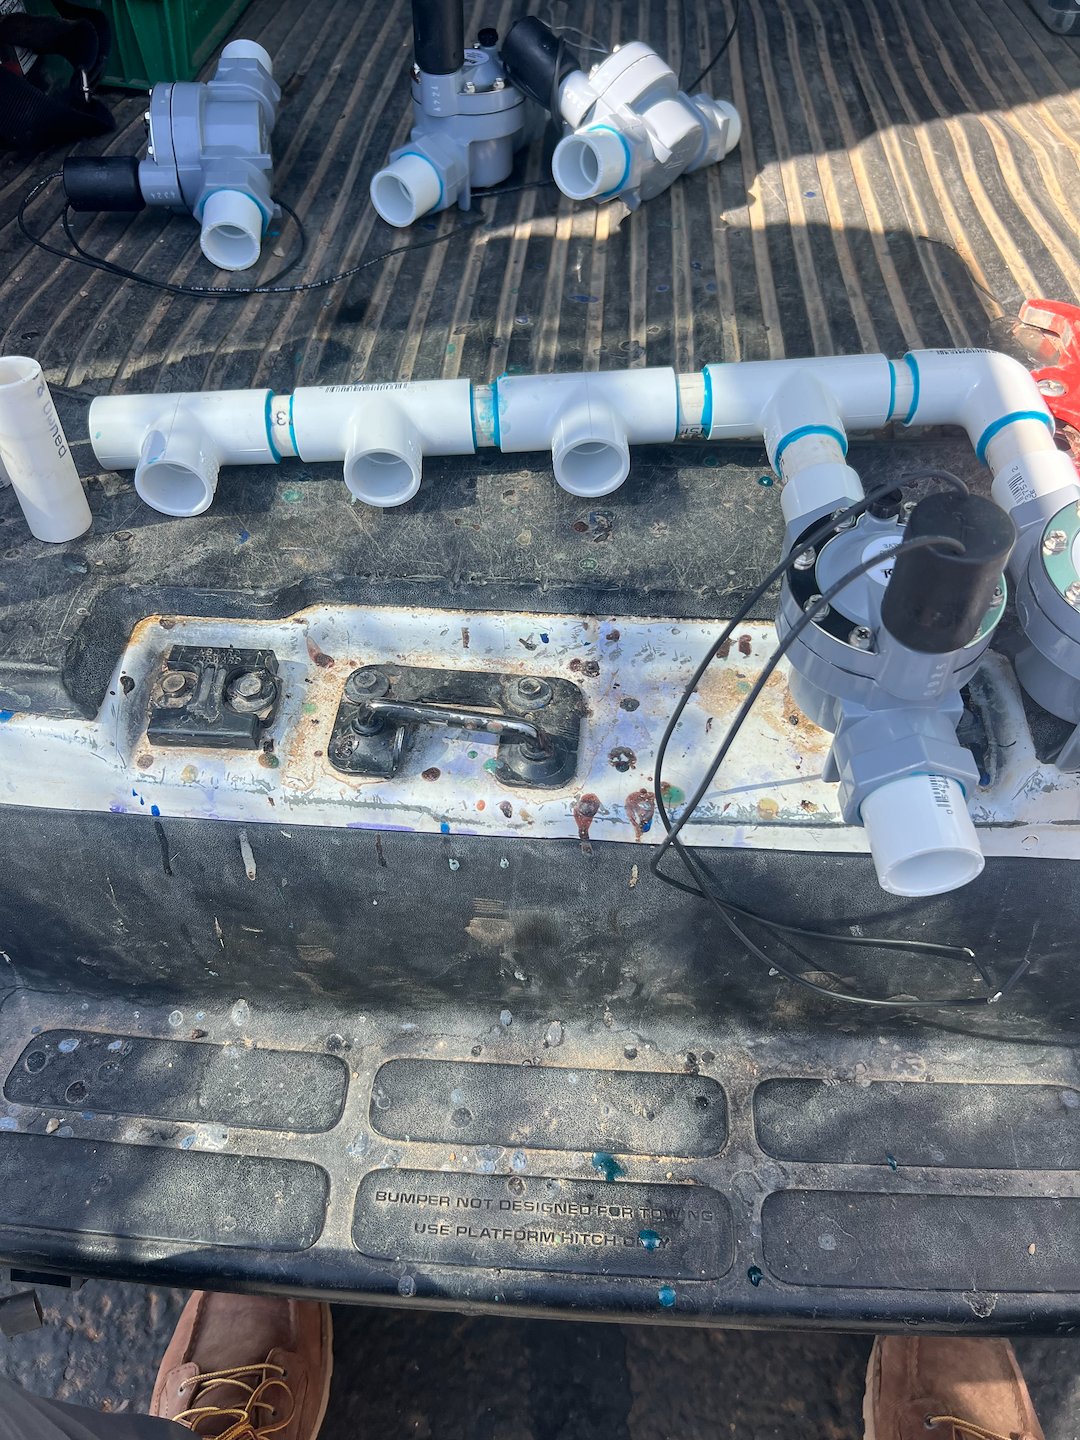
Assembling a 5 valve landscape outdoor drip irrigation manifold with slip valves requires careful attention to layout, compatibility, and watertight connections. First, gather all necessary materials, including a pre-manufactured manifold or individual manifold components, five slip-type irrigation valves, PVC pipe or flexible tubing, solvent cement, Teflon tape, and the appropriate fittings and adapters. Begin by positioning the manifold close to your water source and ensure all valve ports are accessible for maintenance. If you're building the manifold from scratch, join PVC sections using slip fittings, applying solvent cement to ensure a strong, leak-proof bond. Attach each slip valve to its corresponding port on the manifold, making certain the flow direction indicated on the valve matches the intended water path. Use Teflon tape on threaded connections to further prevent leaks. Connect the main water supply line to the manifold's inlet, securing it with a slip fitting and solvent cement. Next, attach drip tubing to each valve’s outlet, routing the lines to designated watering zones in your landscape. Test all connections for leaks by gradually turning on the water and observing each valve. Adjust and secure any loose fittings as needed. Label each zone for easy identification and future maintenance. With the system assembled, program timers or controllers if desired, and enjoy a precise, efficient watering setup that keeps your landscape thriving.
Project Image Gallery