Professional low voltage landscape accent lighting installation in Surprise Az
Installing Low Voltage Landscape Accent Lighting in Surprise Az
A Step-by-Step Guide to Enhancing Your Outdoor Space
Low voltage landscape accent lighting offers an elegant way to showcase the beauty of your outdoor environment while improving safety and functionality after dusk. The installation process is approachable for most DIY enthusiasts and involves several key steps. To begin, you should carefully plan your lighting layout, considering both aesthetic goals and practical aspects such as highlighting key features—trees, walkways, or architectural elements. Once you have a design in mind, assemble the necessary materials: low voltage fixtures, a compatible transformer, outdoor-rated low voltage wiring, wire connectors, and any required mounting stakes or hardware.
Start by mapping out and marking the locations of your accent lights according to your plan. Next, position your transformer close to a GFCI-protected outdoor electrical outlet, as this device will safely step down standard household voltage (120V) to a safer 12V or 24V for landscape lighting. Secure the transformer to a wall or post, and make sure it’s rated for outdoor use and provides sufficient wattage for all your fixtures combined.
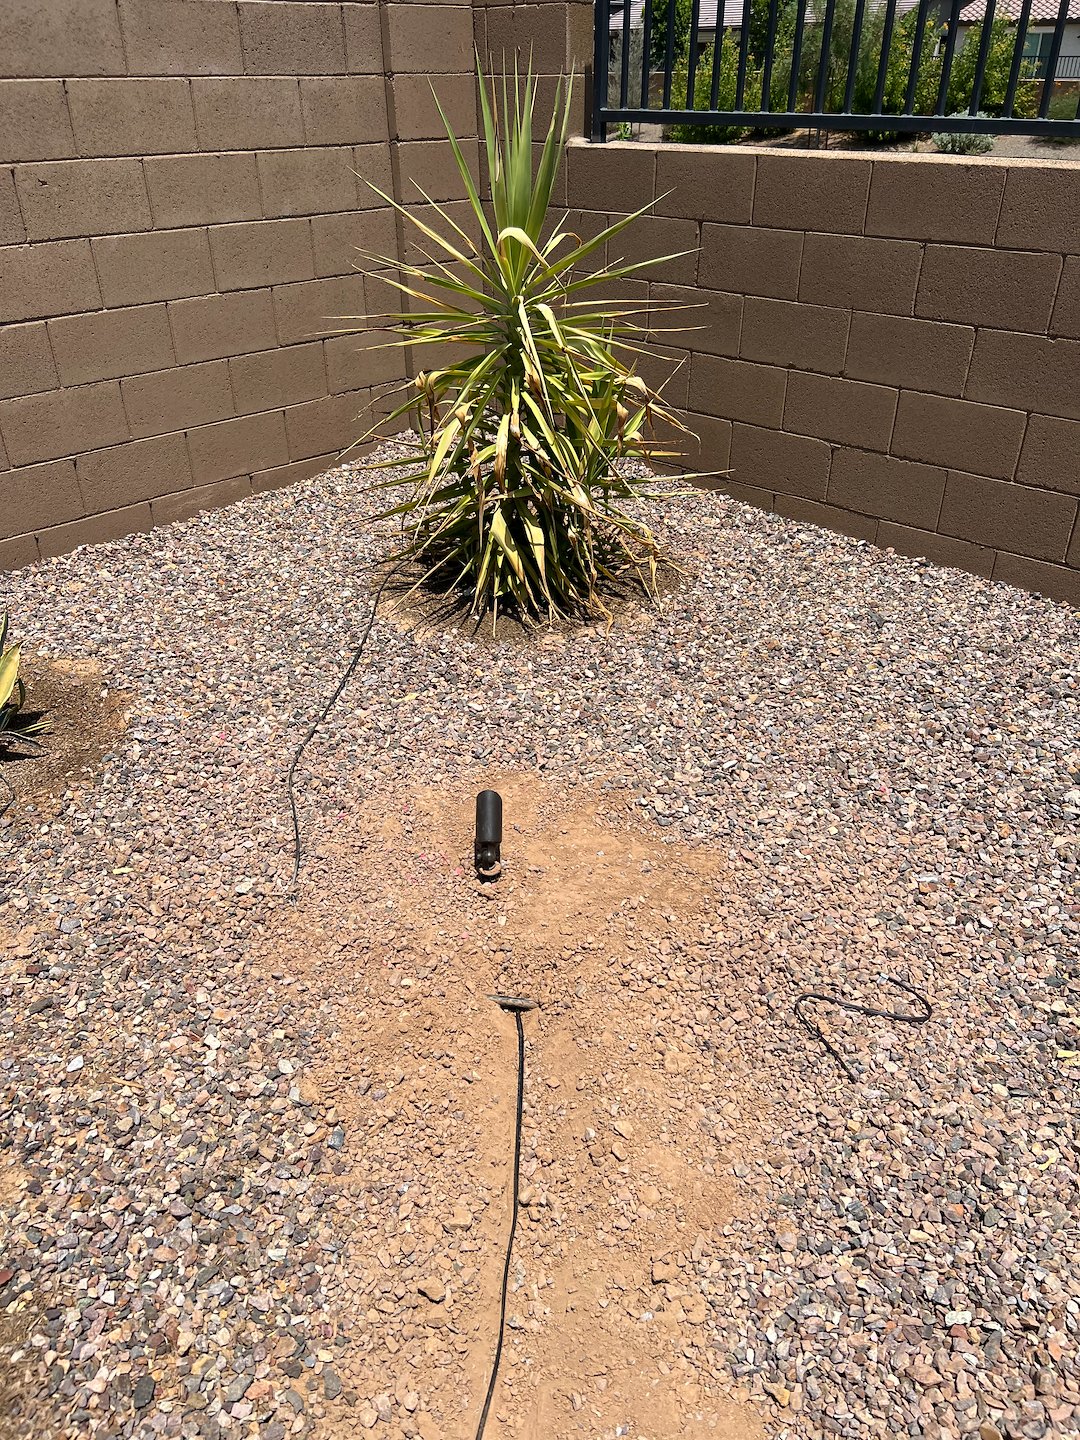
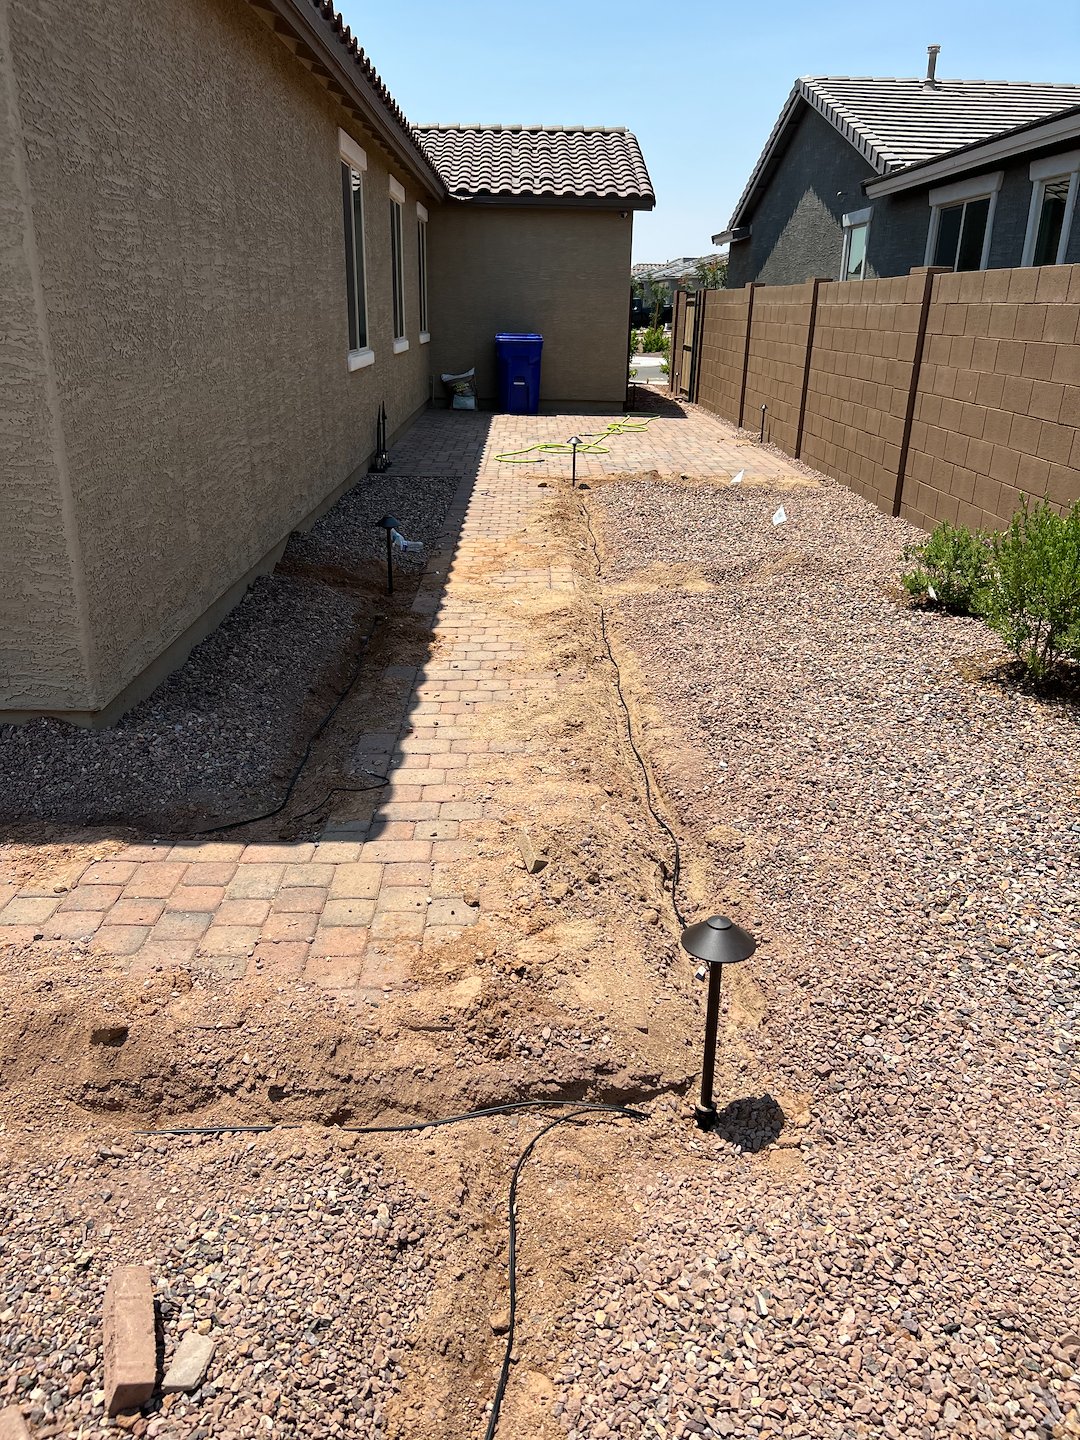
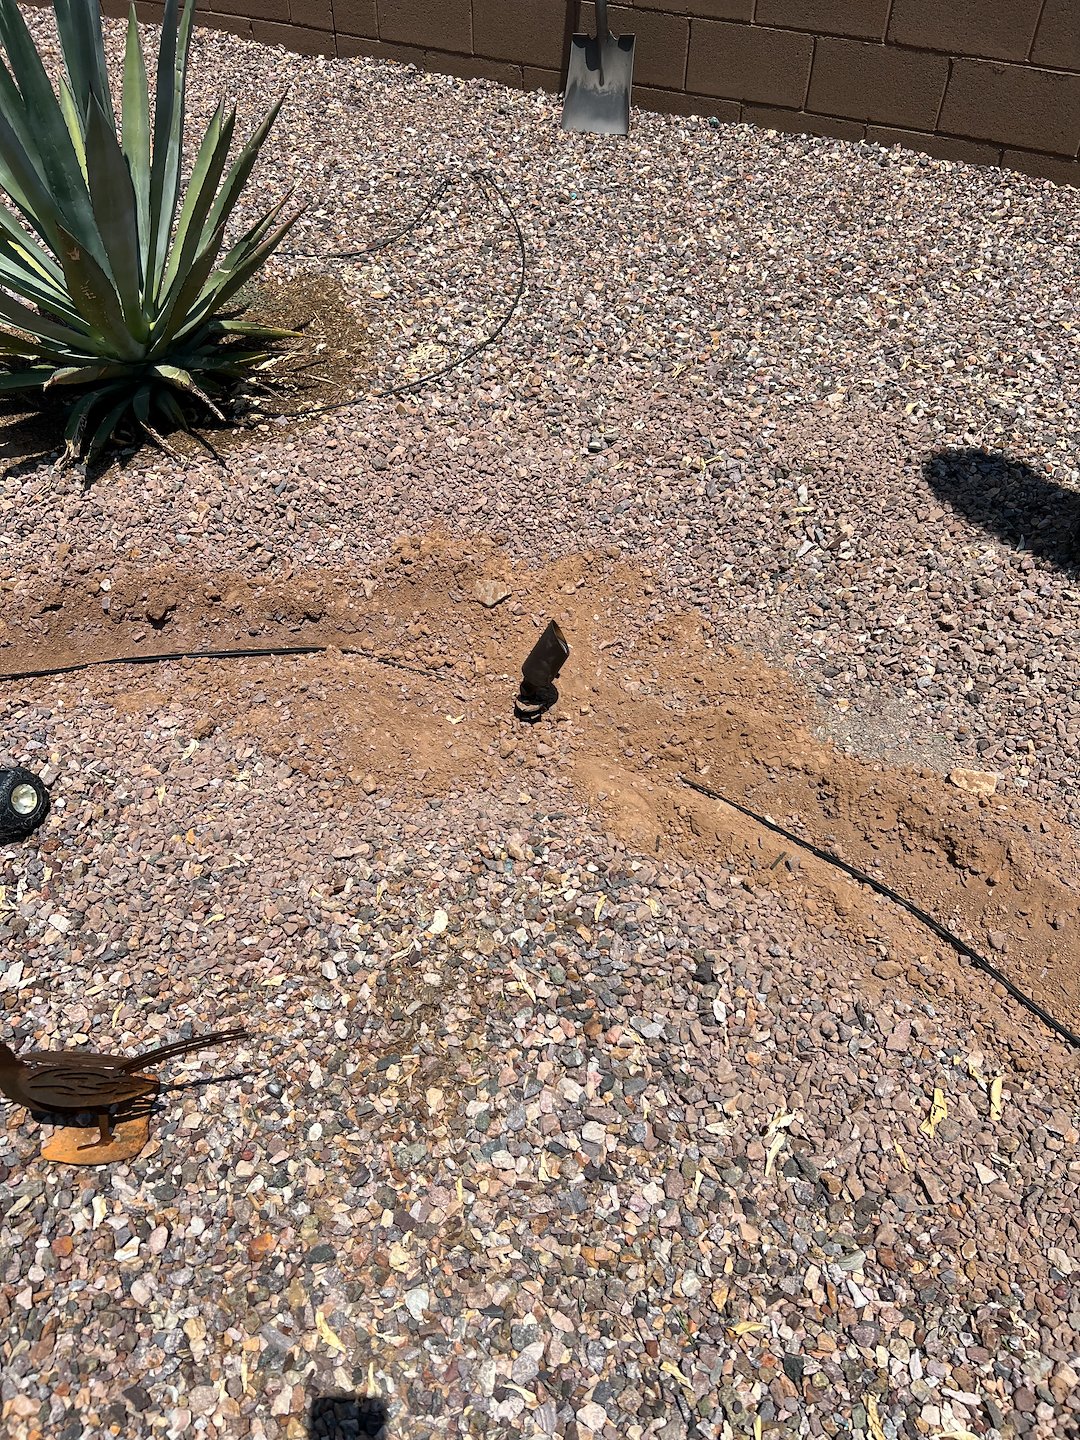
With your transformer in place, lay out the low voltage cable along the path where your lights will be installed, leaving extra slack at each fixture location to allow for adjustments. Avoid running cables directly under high-traffic areas if possible. Use a flat-blade shovel to create shallow trenches, typically 3-6 inches deep, and tuck the cable inside to keep it protected and out of sight.
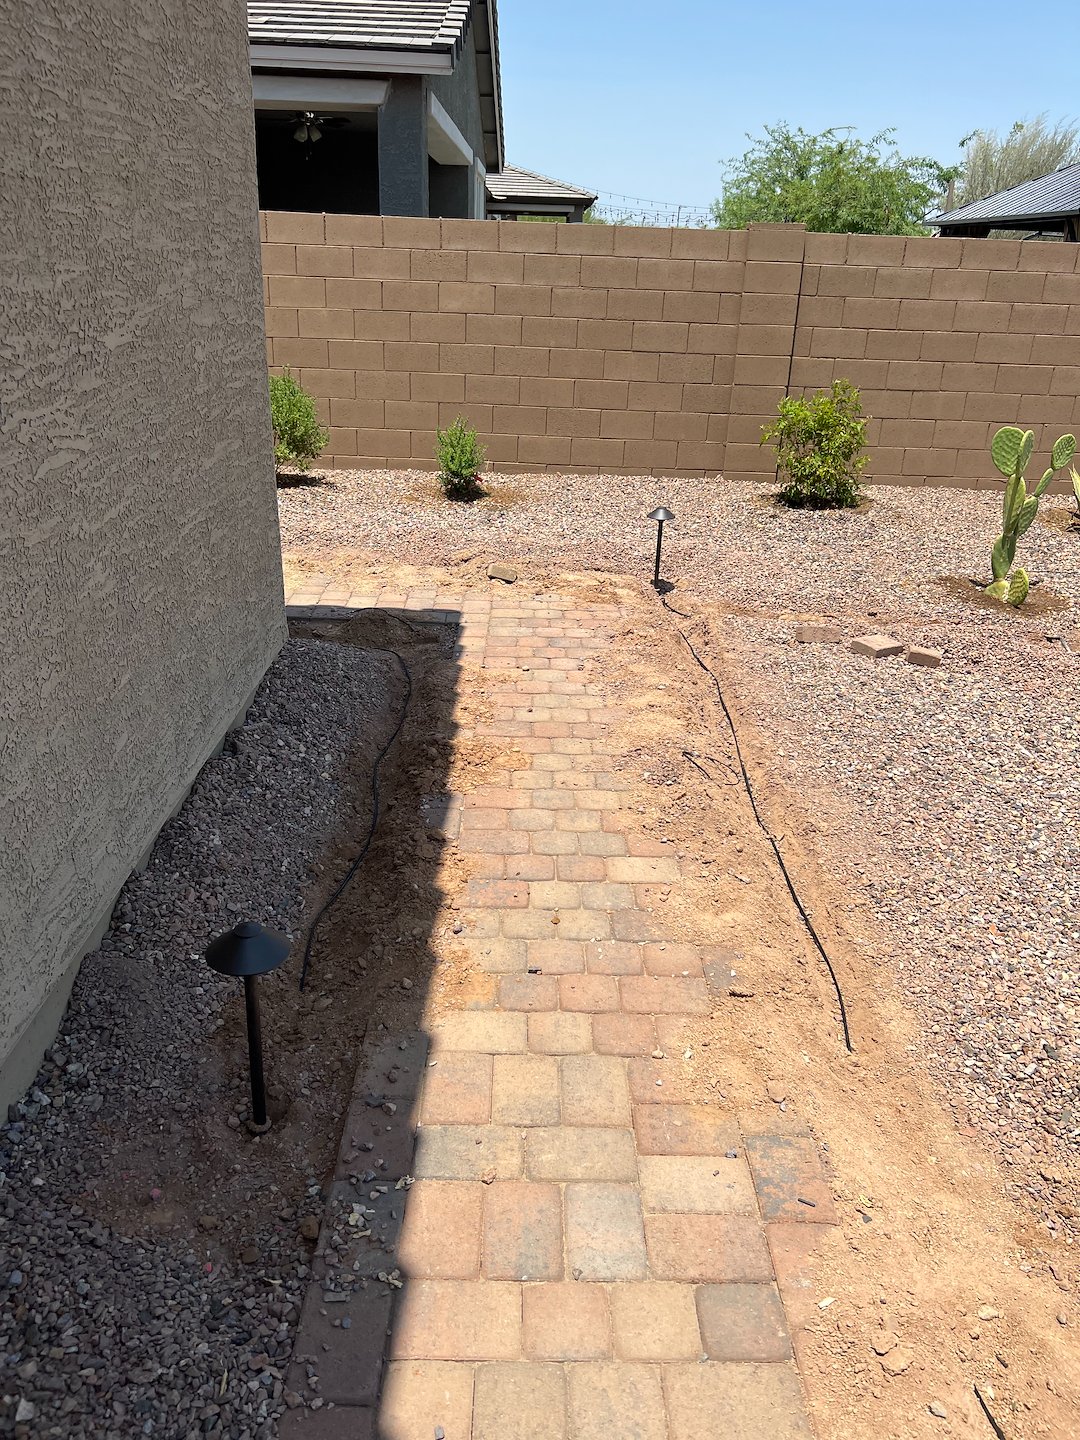
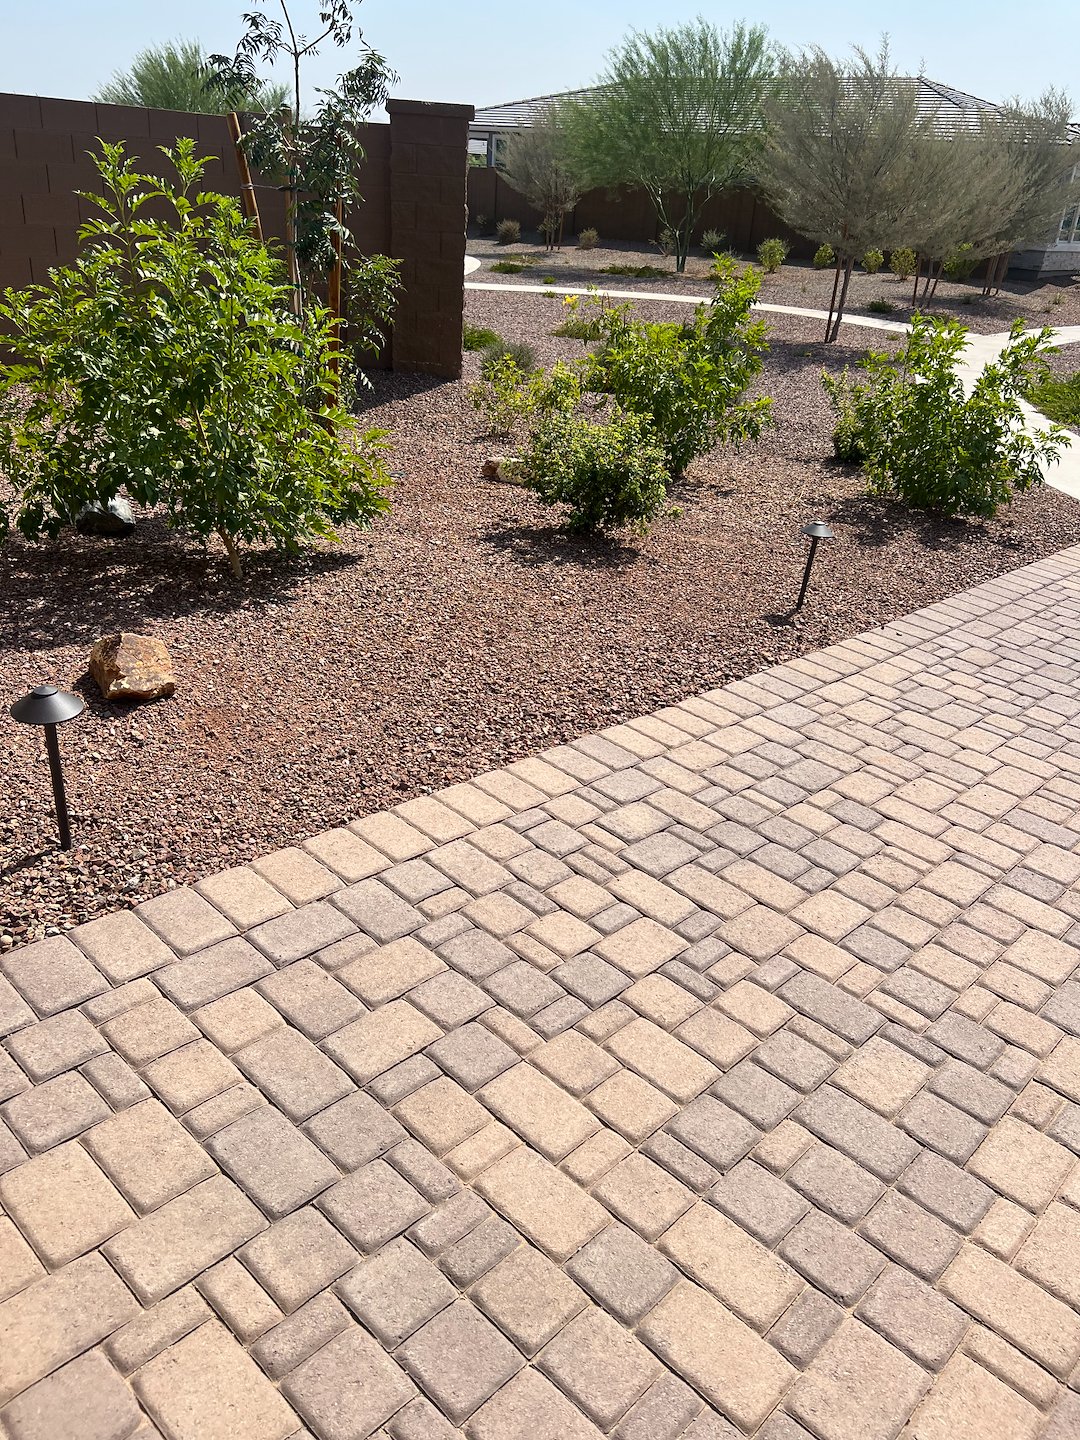
Install the accent lighting fixtures by following the manufacturer’s instructions, usually involving assembling the light heads and securing them to stakes or mounting bases. Attach each fixture to the main cable using weatherproof connectors designed for low voltage landscaping systems. Some connectors are “pierce-style,” which pierce the insulation to make electrical contact, while others require you to strip a small amount of the cable’s insulation prior to connection. Ensure all connections are tight and secure to prevent moisture intrusion.
Once all fixtures are connected, return to the transformer and connect the main cable leads to its output terminals, taking care to match polarity as required. Plug the transformer into the outdoor outlet, and turn it on to test the system. Walk around your property to check each fixture’s illumination and adjust the angle or placement of the lights as needed to achieve your desired effect. Many transformers feature built-in timers or photocells, allowing you to automate when the lights turn on and off, ensuring efficient energy use.
After confirming that all fixtures operate correctly, complete the installation by burying the cable fully in the trenches and replacing any displaced soil. Double-check that all fixtures are properly secured and aimed. Clean up the site, and enjoy the enhanced beauty and safety of your outdoor spaces, knowing that your low voltage landscape accent lighting system not only adds curb appeal but is also safer and more energy-efficient than traditional high voltage options.
For long-term performance, periodically inspect your system for signs of wear or damage, trim nearby plants to prevent obstruction, and replace bulbs or fixtures as needed. With thoughtful installation and routine maintenance, your low voltage landscape accent lighting will provide years of atmospheric illumination and enjoyment.
Location: Surprise, AZ
Project Image Gallery